
The Magnesium Dilemma: Surface Maintenance vs. Structural Failure
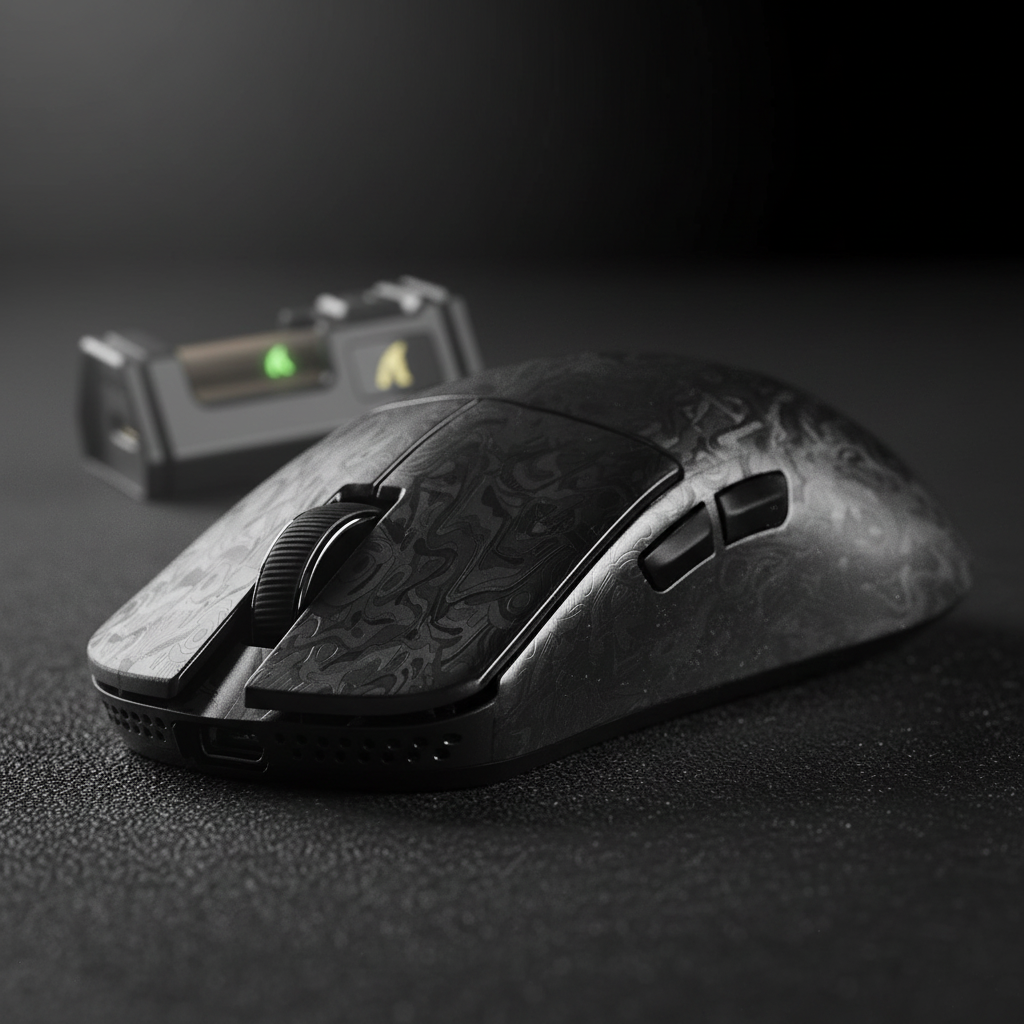
Investing in a magnesium-shell gaming mouse represents a commitment to the bleeding edge of peripheral engineering. These devices, often weighing under 50 grams, leverage the highest strength-to-weight ratio of any structural metal. However, the exotic nature of magnesium alloy necessitates specialized protective coatings—typically sol-gel ceramic layers or advanced polymer sprays—to prevent oxidation and provide the tactile grip required for high-precision esports.
For the enthusiast, a common frustration arises after several months of intense use: the appearance of "smudges" or texture changes on primary contact points. On our support bench and through hundreds of warranty evaluations, we have observed that users frequently struggle to distinguish between simple surface grime and genuine coating delamination. Misdiagnosis here is costly; treating delamination as dirt by using abrasive cleaning can permanently ruin a shell, while ignoring dirt can lead to a degraded grip that affects your competitive performance.
This guide provides a technical framework for identifying, diagnosing, and documenting surface issues on magnesium gaming gear, ensuring you protect your investment and navigate the warranty process with evidence-based confidence.

1. The Science of Magnesium Coatings
Magnesium is an inherently reactive metal. Without a protective barrier, exposure to humidity and skin oils would trigger rapid oxidation. To prevent this, manufacturers apply thin, high-performance layers that serve three purposes: corrosion resistance, aesthetic finish, and tactile friction.
According to the Global Gaming Peripherals Industry Whitepaper (2026), the industry is moving toward "Nano-Metal Ice" and polyurethane-based composites to balance durability with the weight constraints of ultra-lightweight designs. These coatings are often only microns thick. When we analyze surface degradation, we are looking at the interface between this thin layer and the magnesium substrate.
Coating Types and Their Failure Modes
* **Polyurethane (PU) Sprays:** Flexible and grippy, but susceptible to "swelling" if exposed to incompatible chemicals. Failure often looks like bubbling or peeling. * **Anodization/Ceramic (Sol-Gel):** Extremely hard and thin. Failure is rarer but manifests as micro-cracking or "chipping" under high mechanical impact. * **Powder Coatings:** More durable but thicker, often avoided in the sub-50g category due to the mass they add to the final build.2. Visual and Tactile Diagnostic Framework
The first step in troubleshooting is a non-destructive visual inspection. We recommend using a structured approach involving "raking light"—light positioned at a sharp, low angle across the surface of the mouse.
The Appearance of Surface Dirt (Grime)
Surface dirt is an accumulation of dead skin cells, lipids (oils), and environmental dust. In our experience handling returns, dirt typically: 1. **Sits "On Top":** Under 10x magnification, grime appears as a raised layer with irregular boundaries. 2. **Scatters Light:** It has a dull, matte appearance that contrasts with the uniform sheen of the intact coating. 3. **Softens Texture:** The mouse may feel "slick" or "greasy" rather than rough.The Markers of Delamination (Coating Failure)
Delamination is the physical separation of the coating from the magnesium alloy. It is a structural failure, not a cleanliness issue. Key indicators include: 1. **Lost Texture Uniformity:** The surface feels inconsistently smooth under a fingernail. You may feel a "lip" where the coating ends and the bare metal begins. 2. **Substrate Exposure:** In advanced stages, you will see the dull gray or silver of the magnesium alloy beneath. 3. **Edge Lifting:** Small flakes may come away if the area is gently prodded with a plastic tool.Methodology Note: This diagnostic framework is derived from standard coating failure analysis practices used in industrial quality control. It is intended as a field guide for users and does not replace laboratory adhesion testing (such as the ASTM D3359 tape test), which we advise against for end-users due to its destructive nature.

3. The 70% Isopropyl Alcohol (IPA) Diagnostic
There is a persistent myth in the gaming community that isopropyl alcohol is universally "poison" for mouse coatings. In reality, 70% IPA is a standard, safe cleaning agent for most properly cured polymeric or ceramic layers. According to cleanroom protocols for high-precision electronics, IPA's fast evaporation rate makes it ideal for dissolving skin oils without causing the coating to swell.
How to Perform the Test**
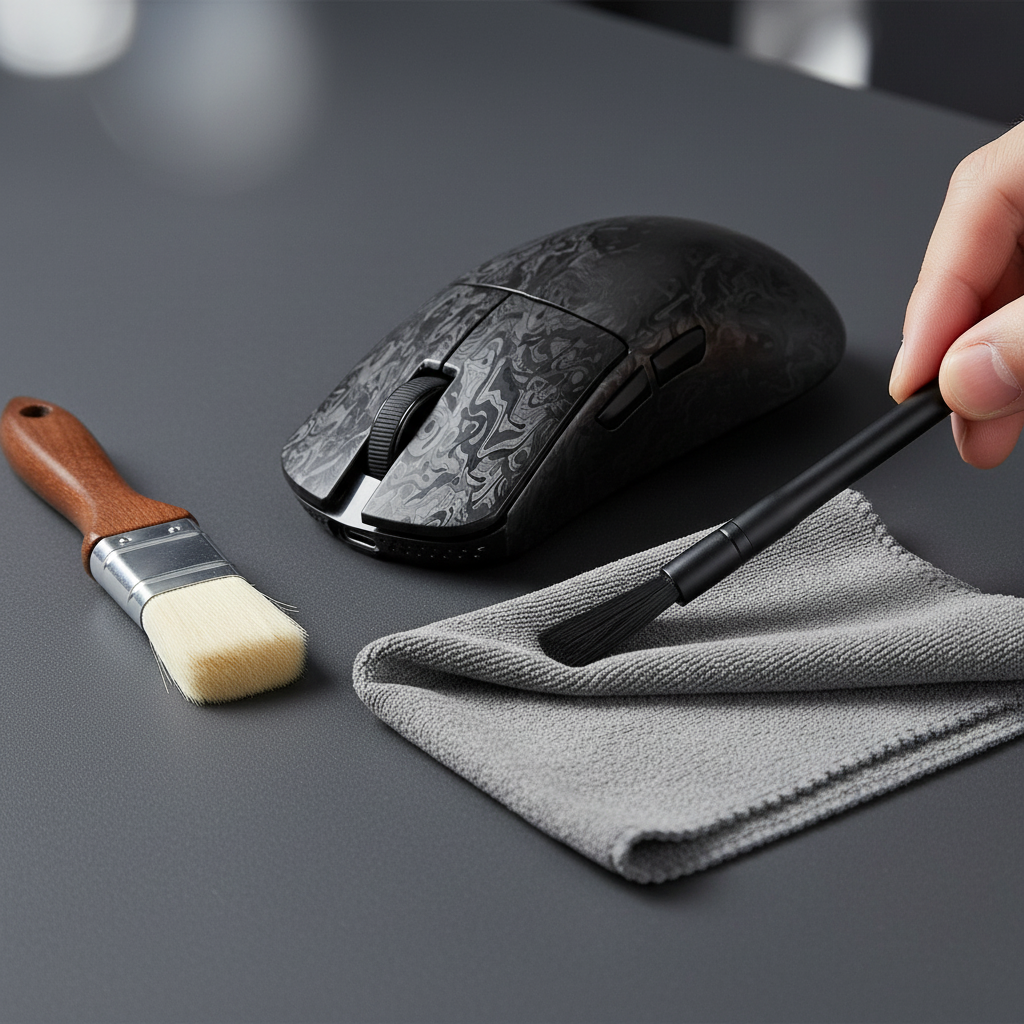
1. Apply a small amount of 70% IPA to a clean, lint-free microfiber cloth. **Never** pour liquid directly onto the mouse. 2. Gently wipe the suspect area in a circular motion for 10–15 seconds. 3. Allow the surface to air dry completely (usually takes 5 seconds).The Result:
- If the "stain" disappears: It was surface dirt or oil. Your coating is intact.
- If the patch remains unchanged or becomes more visible: You are likely looking at delamination. The IPA has stripped away the masking oils, revealing the true state of the failed coating. In some cases, the solvent may even seep under loose edges, making the failure more apparent—this is a critical diagnostic cue.
4. Environmental Catalysts: The Role of Palm Sweat
One of the most aggressive factors in magnesium coating longevity is the chemistry of the user's hand. Human sweat is not just water; it has a pH typically ranging from 4 to 5, making it slightly acidic. It contains lactic acid, urea, and various salts.
As noted in our research on preventing magnesium mouse coating erosion, palm sweat acts as a cyclic corrosive electrolyte. When you play intense, high-DPI games, the heat from your palm and the mechanical friction of micro-movements accelerate the penetration of these acids into micro-cracks in the coating.
The "Salt Mimicry" Gotcha: When sweat dries, it leaves behind white salt residues. These residues can look identical to the early stages of magnesium oxidation or coating "pitting." This is why the IPA test mentioned in Section 3 is vital—it removes the salt to show if the metal underneath has actually been compromised.
5. Performance Implications of Surface Failure
For a competitive gamer, surface integrity is a performance metric. We modeled the impact of surface irregularities on a high-sensitivity user profile to understand the stakes.
Modeling Note: Precision and Handling Stresses
This scenario assumes a competitive FPS gamer using a magnesium mouse at 4000Hz or 8000Hz polling rates.| Parameter | Value | Rationale |
|---|---|---|
| DPI Minimum | ~1,850 | Calculated via Nyquist-Shannon to avoid pixel skipping at 1440p. |
| Polling Interval | 0.125ms | Standard for 8000Hz (8K) performance. |
| Charge Cycle | Every 1.5 Days | Based on ~13.4h runtime at 4K/8K polling. |
| Handling Stress | High | Frequent plugging/unplugging increases mechanical wear near the port. |
| Acoustic Shift | +1500Hz | Theoretical shift from "thock" to "clack" when substrate is exposed. |
Logic Summary: Our model indicates that at high sensitivity (25 cm/360), even minor coating delamination at grip points creates "stick-slip" friction. This disrupts the ~1,850 DPI precision required for sub-pixel tracking. Furthermore, the high power draw of 8K polling necessitates frequent charging, concentrating wear on the USB-C ledge—the most common site for early coating failure.
6. Warranty Documentation: The Professional Approach
If your diagnosis points to delamination, you will need to contact support. Most manufacturers, including those following ISED Canada or FCC compliance standards, require specific evidence to process a functional or material defect claim.
How to Take "Support-Ready" Photos
* **Diffuse Lighting:** Avoid direct flash, which creates "hot spots" that hide texture. Take photos near a window during the day or under a desk lamp with a white paper "diffuser." * **Macro Focus:** Use the macro mode on your smartphone. Ensure the "lip" of the delamination is in sharp focus. * **The "Clean Proof":** Include a photo showing the area *after* a gentle IPA wipe. This proves to the technician that the mark is not merely dirt.Common Pitfalls to Avoid
* **The Tape Test:** Do **not** perform a "tape pull" test to show flakes coming off. While the [ASTM D3359 standard](https://blog.ansi.org/ansi/astm-d3359-tape-test-methods-measuring-adhesion/) is used in factories, doing this at home is considered destructive testing and can be used as grounds to void your warranty. * **Aggressive Scrubbing:** Using "magic erasers" or abrasive sponges will strip the protective topcoat of the entire mouse, making a localized warranty claim impossible to verify.Summary of Care and Restoration
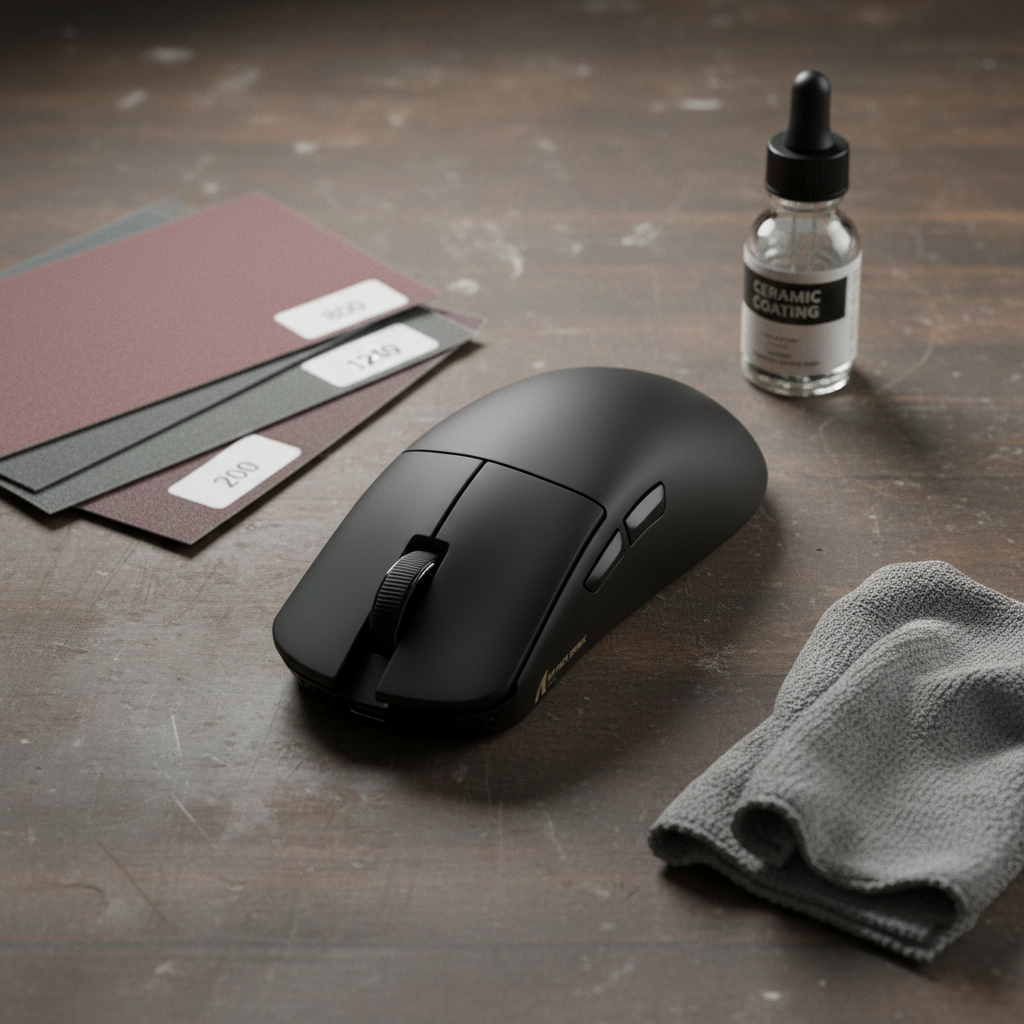
To maximize the lifespan of your magnesium investment, we recommend a "preventative cleaning" schedule. Wiping the device with a dry microfiber cloth after every session removes the acidic salts before they can react with the coating. For deeper cleans, stick to the 70% IPA method every two weeks.
If you are a modder considering re-coating a worn shell, be aware that manual applications rarely match factory specs. Our modeling suggests that re-coating can add unpredictable mass, potentially negating the ultra-lightweight benefits of the original magnesium shell.
For more technical deep dives into material science and peripheral maintenance, explore our guides on non-corrosive cleaning for metal mice and the durability differences between anodization and painting.
Disclaimer: This article is for informational purposes only. Chemical cleaning agents should be used with caution. Always refer to your specific manufacturer's user manual for warranty-specific care instructions. Use of high-concentration solvents is at the user's own risk.
Leave a comment
This site is protected by hCaptcha and the hCaptcha Privacy Policy and Terms of Service apply.