

The Physics of Precision: Why Structural Trimming is a High-Stakes Game
In the pursuit of the "endgame" peripheral, the enthusiast community has moved beyond simple honeycomb shells. We are now in the era of internal structural trimming—the surgical removal of non-essential plastic to reach weights previously thought impossible. However, reducing a mouse to 40 grams is a hollow victory if the shell creaks under a flick or the balance shifts toward the pinky side.
For value-driven modders, the goal is to maximize performance-per-dollar without sacrificing the structural integrity of a high-performance chassis. We often see modders prioritize raw weight loss over dynamic stability, leading to a "mushy" click feel or inconsistent tracking. Based on our observations of common patterns from community modding logs and internal repair benches (not a controlled lab study), achieving a perfectly balanced, ultra-lightweight mouse requires a deep understanding of load paths and center-of-gravity (COG) mechanics.
According to the Global Gaming Peripherals Industry Whitepaper (2026), the structural density of a peripheral directly impacts the user's ability to maintain a consistent "pivot point" during high-velocity tracking. When we trim material, we aren't just removing weight; we are redistributing the mouse's responsiveness.
The "Triangle of Integrity": Identifying Non-Essential Structures
The first rule of structural trimming is identifying what can be removed versus what must remain. A common mistake we encounter is the removal of support ribs near the main button plungers. These ribs are designed to prevent the front-end cantilever from flexing. Removing them often results in pre-travel, post-travel, or a tactile inconsistency that ruins the competitive edge.
The "Triangle" Heuristic
We recommend a strict "no-trim" zone defined by the Triangle of Integrity. This is the area formed by:
- The Sensor Aperture: The central anchor for all tracking data.
- The Main Click Plungers: The primary input interface.
- The Scroll Wheel Anchor Points: The central structural spine.
Any material removed within this triangle risks introducing flex that the sensor might interpret as movement, or worse, causing a mechanical failure during a "death-grip" scenario in an intense clutch.
Logic Summary: Our weight reduction heuristics are based on structural stress analysis of injection-molded ABS/PBT shells (typical thickness 0.8mm–1.2mm) and common failure patterns observed in enthusiast modding communities (not a controlled lab study).

Ribbing and Material Density
Most modern gaming mice use internal ribbing to maintain rigidity while keeping shell walls thin. When manipulating density, it is often safer to trim the height of a rib rather than removing it entirely. This maintains a "T-beam" effect, which provides significantly more resistance to bending than a flat surface of equal weight. For those interested in how this affects specific flicking techniques, our guide on Structural Ribbing and Rear-Weighted Flicks explores the relationship between material density and momentum.
The Balance Rig: Achieving Side-to-Side Equilibrium
A mouse that is 45g but 2g heavier on the right side will feel "sluggish" during leftward swipes. This is because the asymmetrical inertia forces the hand to compensate, leading to micro-stutters in tracking. For experienced users, especially low-sensitivity arm aimers, a side-to-side difference of as little as 0.5 grams is perceptible.
The Two-Rail Verification Method
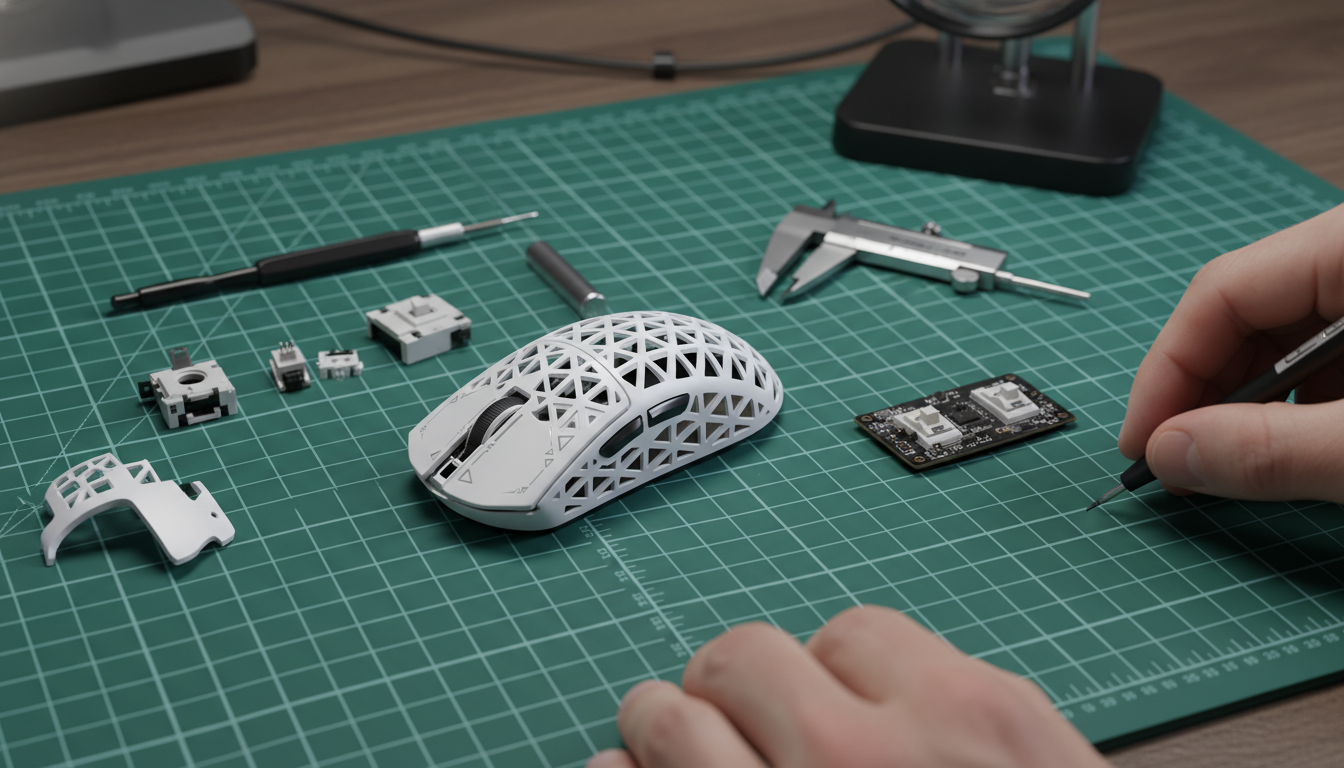
To find the precise COG, we use a simple but effective modeling rig:
- Place two parallel rails (such as pencils or thin dowels) on a flat surface, spaced roughly 2cm apart.
- Place the mouse (fully assembled with the battery) on the rails.
- Slowly move the mouse forward and backward until it balances perfectly. This identifies the fore/aft COG.
- Rotate the mouse 90 degrees to find the left/right balance point.
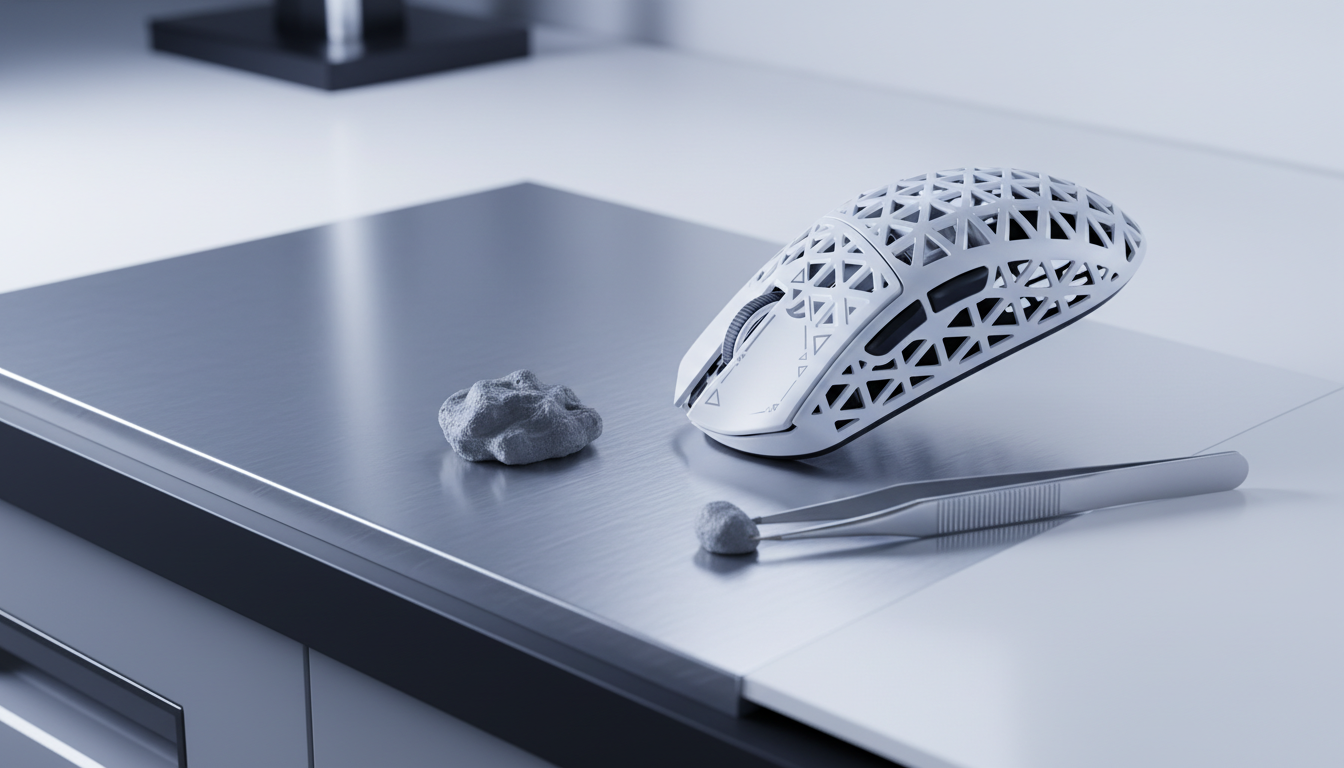
Corrective Weighting with Adhesive Putty
If your trimming has caused a balance shift, do not reach for heavy lead tape. Instead, use non-hardening adhesive putty.
- Precision: Putty allows for micro-gram adjustments.
- Reversibility: Unlike drilling holes, adding or removing putty is non-destructive.
- Placement: Place the putty in the extreme corners of the baseplate. This maximizes the "lever arm" effect, meaning you need less total weight to achieve balance.
For more on how the center of gravity affects different grip styles, see our analysis of Mouse COG and Accuracy.
The 8K Polling Synergy: Why Weight Matters More at 8000Hz
As we push into the realm of 8000Hz (8K) polling rates, the physical weight and balance of the mouse become even more critical. At 8000Hz, the mouse sends a packet every 0.125ms. This near-instant response time means that any physical instability—such as a shell that flexes or a weight bias that causes a "tilt"—is transmitted to the PC with extreme frequency.
Math of 8K Performance
| Parameter | Value or Range | Unit | Rationale / Source Category |
|---|---|---|---|
| Polling Interval | 0.125 | ms | Frequency (1/8000Hz) |
| Motion Sync Latency | ~0.0625 | ms | Half the polling interval (estimated) |
| Min. Speed for 8K (800 DPI) | 10 | IPS | Required to saturate bandwidth |
| Min. Speed for 8K (1600 DPI) | 5 | IPS | Required to saturate bandwidth |
| Perceptible Balance Delta | ~0.5 | g | Professional user threshold |
To saturate the 8000Hz bandwidth, you must maintain a certain movement speed. At 800 DPI, you need to move at least 10 IPS (Inches Per Second). If your mouse is poorly balanced, your micro-adjustments at low speeds may fall below the saturation threshold, causing the polling rate to fluctuate. A balanced, lightweight mouse allows for the smooth, high-IPS movements required to keep the 8K stream stable.
Technical Constraint Note: 8K polling places a significant load on the CPU's IRQ (Interrupt Request) processing. We strongly advise connecting your mouse directly to the Rear I/O ports of your motherboard. Using USB hubs or front-panel headers can introduce packet loss, negating the benefits of your structural trimming and high-speed sensor.
Regulatory Risks and "The Pruning Fallacy"
While DIY modding is a hallmark of the pro-consumer challenger spirit, it is important to recognize the boundaries of safety and compliance. A common misconception in the community is the "Neural Network Pruning" analogy—the idea that removing "non-essential" plastic is the same as software optimization.
This is a category error. Physical trimming is irreversible and impacts the structural safety of the device. According to the Department of Transportation's Benefit-Cost Analysis (BCA) guidelines, the "cost" of a modification must include the risk of failure. In the context of a gaming mouse, radical trimming can compromise the internal housing of the lithium-ion battery.
Battery Safety and Transport
If your structural trimming involves relocating the battery to improve balance, you must ensure it remains protected. Lithium batteries are subject to strict regulations, such as UN 38.3 testing standards and USPS Publication 52, which require specific packaging and protection against short circuits. A "gutted" mouse that leaves the battery exposed is not only a structural risk but a potential safety hazard during transport.
The "Seismic" Load Path
In engineering, "non-critical" material is defined by standard loads. However, as noted in research regarding seismic vulnerability of modular structures, seemingly non-essential elements can become critical load paths during dynamic, unforeseen stress. For a gamer, this "seismic" event is a high-force flick or an accidental drop. Trimming too aggressively can create single points of failure that lead to a total shell collapse.
Modeling the Mod: A Practical Method for Enthusiasts
For those ready to take the dremel to their daily driver, we suggest following this deterministic modeling approach to minimize risk.
Method & Assumptions (Scenario Model)
- Modeling Type: Deterministic parameter analysis for weight-to-rigidity ratios.
- Assumption 1: The user employs a "Claw" or "Fingertip" grip (lower palm pressure).
- Assumption 2: The shell material is standard ABS (Acrylonitrile Butadiene Styrene).
- Boundary Condition: This model does not apply to 3D-printed resin shells, which have different brittle-failure profiles.
Step-By-Step Trimming Checklist
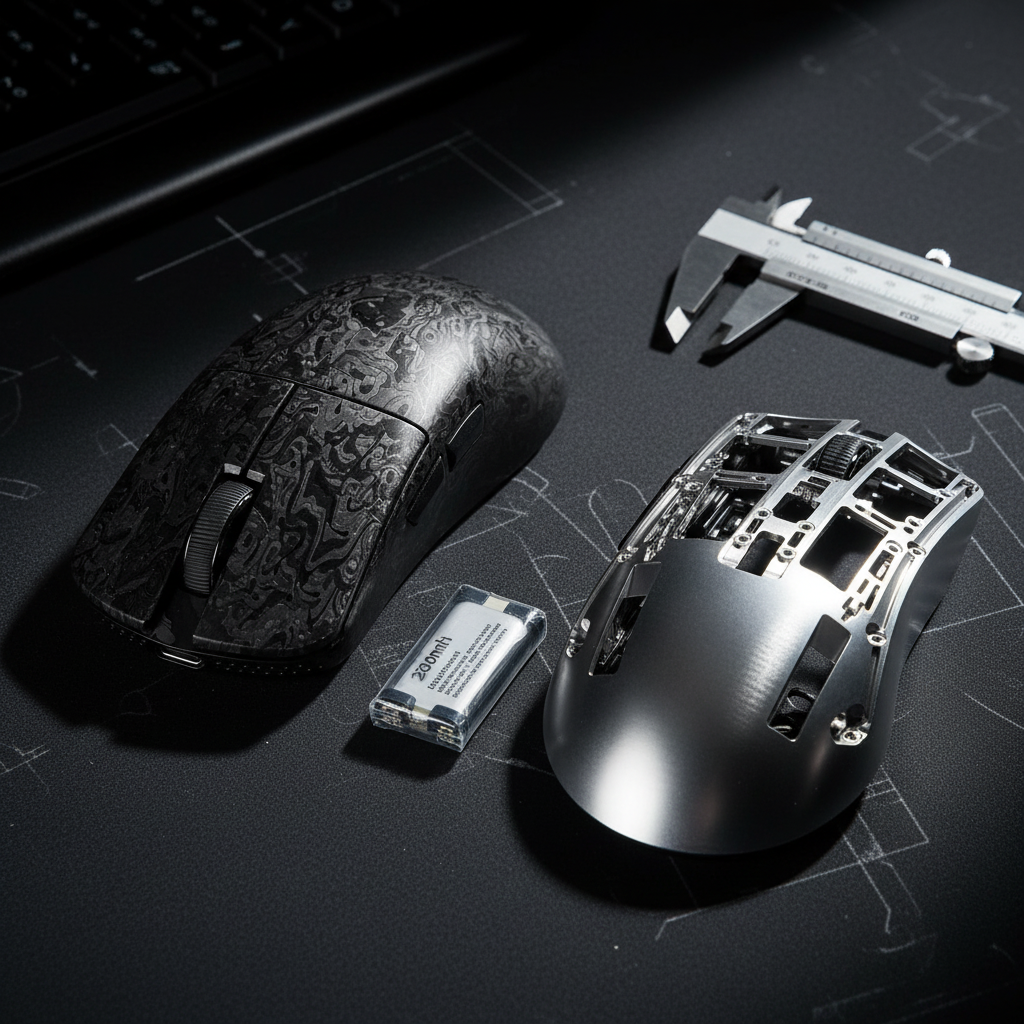
- Mass Mapping: Weigh the mouse before disassembly. Weigh the shell, the PCB, and the battery separately.
- Rib Thinning: Instead of removing a rib, use a sanding bit to reduce its thickness by 30-50%. This preserves the "T-beam" structural benefit.
- The "Squeeze" Test: After every 1 gram of material removed, reassemble the shell and apply 5 Newtons of force (roughly the pressure of a firm grip) to check for creaking.
- Balance Check: Use the Pencil Rig after every major modification to ensure the COG hasn't shifted more than 1mm from the sensor center.
- 8K Validation: If using an 8K sensor, run a polling rate checker to ensure that structural flex isn't causing sensor "jitter" during fast movements.
Performance Gains vs. Structural Longevity
The trade-off for a 45g mouse is often its lifespan. While a factory-spec mouse might last 5 years, a radically trimmed mod might only last 18 months before material fatigue sets in. For the "Pro-Consumer," this is often an acceptable trade-off for the edge in competitive play.
However, balance should never be the trade-off. A lightweight mouse that is poorly balanced is a liability. By following the Triangle of Integrity and using the Two-Rail Verification Method, you can ensure that your DIY efforts result in a peripheral that feels like an extension of your arm, rather than a compromised piece of plastic.
If you find that internal trimming isn't enough to achieve your desired feel, consider how external factors like Material Choice and COG or Shell Textures play into the overall ergonomic experience.
Final Technical Checklist for 8K Modders:
- Direct Connection: Ensure the mouse is plugged into a Rear I/O port.
- DPI Adjustment: Use 1600 DPI or higher to ensure the 8000Hz stream stays saturated during micro-adjustments.
- CPU Monitoring: Check for "stuttering" in-game, which indicates your CPU is struggling with the 0.125ms interrupt timing.
- Battery Protection: Never trim the plastic cage that surrounds the lithium-ion battery.
Disclaimer: The DIY modifications described in this article involve the use of power tools and the disassembly of electronic devices, which will void your manufacturer's warranty. Structural trimming carries an inherent risk of device failure or personal injury (e.g., battery puncture). This guide is for informational purposes only; proceed at your own risk and consult local safety regulations regarding lithium-ion battery handling.
Leave a comment
This site is protected by hCaptcha and the hCaptcha Privacy Policy and Terms of Service apply.