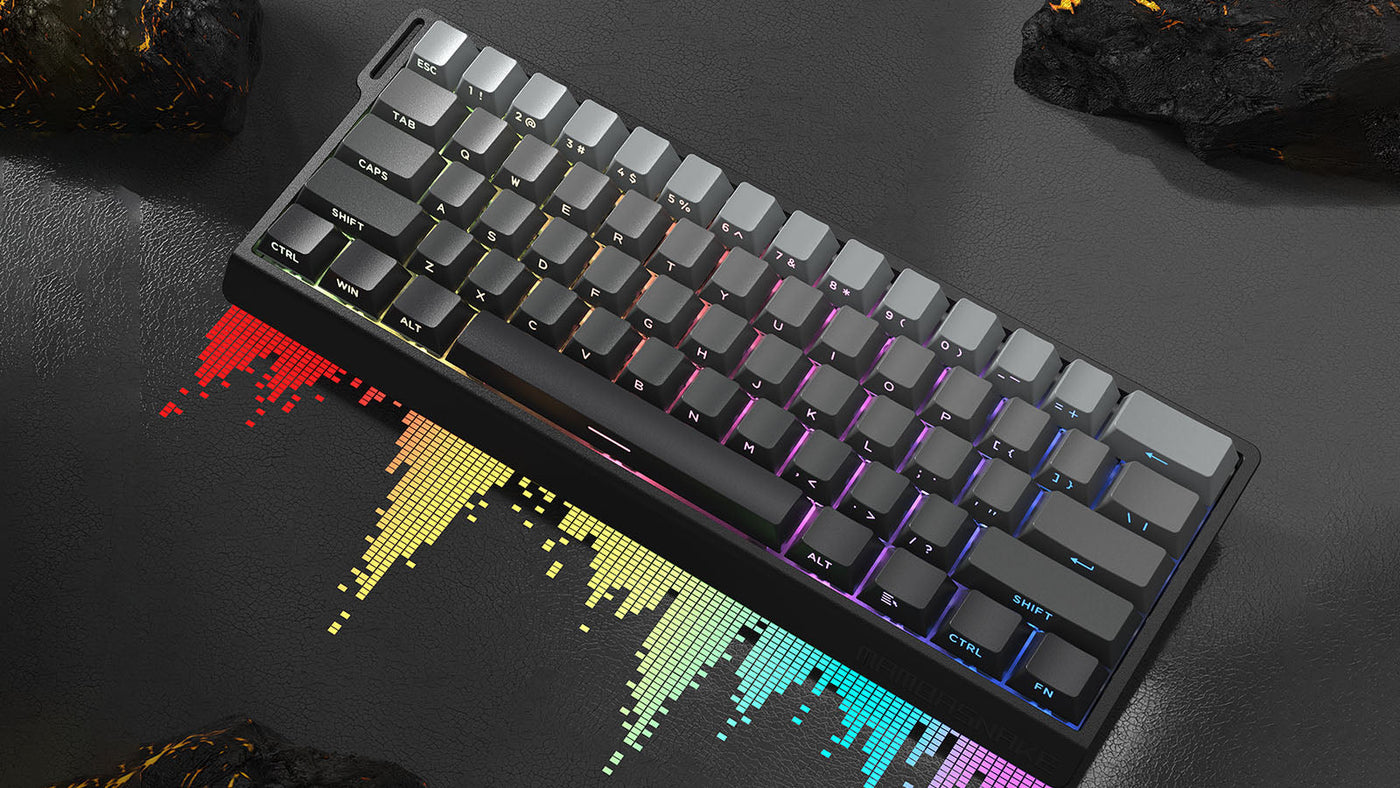

Magnetische Schaltertastaturen sind ein großartiges Gerät, mit ihren sanften Tastenanschlägen, einstellbarer Auslösung und hervorragender Langlebigkeit. Ob Gamer, der eine blitzschnelle Reaktion benötigt, oder Vielschreiber, der Genauigkeit verlangt – die richtige Pflege Ihrer magnetischen Tastatur ist das Geheimnis für eine langanhaltende, erfüllende Erfahrung. Dieser Artikel wird Sie durch die richtige Pflege und Wartung Ihrer magnetischen Schaltertastatur führen, damit jeder Tastendruck so wunderbar ist wie der erste.
Warum regelmäßige Wartung für Ihre magnetische Tastatur wichtig ist
Man könnte denken, dass magnetische Schalter, da sie keine physischen Metallkontakte haben, die mit der Zeit wie bei alten mechanischen Schaltern verschleißen, immun gegen die Launen von Zeit und Nutzung sind. Obwohl sie äußerst langlebig sind, benötigen sie dennoch Pflege. Staub, Krümel, Hautöle und andere Verunreinigungen können sich weiterhin auf und um die Tastenkappen ansammeln und sogar potenziell in den Spalten um die Schalter herum, wenn auch weniger stark als bei Kontaktmechanismen.
Regelmäßiges Reinigen verhindert die schmierige Ablagerung, die Tastenkappen klebrig oder schwer zu drücken macht. Reinigung sorgt auch dafür, dass Ihre Tastatur nicht ungepflegt aussieht. Außerdem sorgt ein sauberer Bereich um das magnetische System für ein geschmeidiges Gleiten zwischen den Tasten und verhindert mögliche Störungen durch größere Schmutzpartikel, sodass Ihre Tastatur jahrelang optimal funktioniert.

Alltägliche Gewohnheiten für eine sauberere Tastatur
Der beste Weg, Ihre magnetische Schaltertastatur sauber zu halten, ist, zu verhindern, dass sie überhaupt zu schmutzig wird. Einige einfache tägliche Gewohnheiten können einen großen Unterschied machen und den Bedarf an häufigen gründlichen Reinigungen verringern.
Vermeiden Sie es, direkt über der Tastatur zu essen oder zu trinken. Krümel und Verschüttetes sind die Erzfeinde jeder Tastatur, unabhängig vom Schaltertyp. Wenn Sie am Schreibtisch snacken, seien Sie achtsam. Das Händewaschen vor längeren Schreib- oder Spielsitzungen kann ebenfalls die Übertragung von Ölen und Schmutz auf die Tastenkappen reduzieren.
Halten Sie eine weiche Bürste oder eine Dose Druckluft griffbereit. Ein kurzes Durchfegen oder ein Luftstoß einmal täglich oder alle paar Tage kann losen Staub und Partikel lösen, bevor sie sich festsetzen. Diese einfache vorbeugende Maßnahme dauert nur Sekunden, zahlt sich aber langfristig in Sauberkeit aus.
Wöchentliche oder zweiwöchentliche Auffrischung
Für die meisten Nutzer reicht eine gründlichere schnelle Reinigung einmal pro Woche oder alle zwei Wochen, um die Tastatur gut aussehen und sich gut anfühlen zu lassen. Das muss kein mühsamer Prozess sein.
Beginnen Sie damit, Ihre Tastatur zu trennen, um versehentliche Tastendrücke zu vermeiden, die Ihren Computer durcheinanderbringen könnten. Drehen Sie die Tastatur um und schütteln Sie sie vorsichtig, um lose Partikel zu lösen, die sich zwischen den Tastenkappen verfangen haben könnten. Sie werden überrascht sein, was alles herausfallen kann!
Als Nächstes nehmen Sie Ihre Dose Druckluft und blasen mit kurzen Stößen verbleibenden Staub und Partikel zwischen den Tasten und am Rand des Tastaturrahmens heraus. Wischen Sie anschließend die Oberflächen der Tastenkappen und den Rahmen mit einem leicht feuchten (nicht nassen!) Mikrofasertuch ab. Bei fettigen Flecken können Sie eine kleine Menge mildes Reinigungsmittel oder einen elektronikverträglichen Reiniger auf das Tuch geben, aber oft reicht klares Wasser aus.

Gelegentliche gründliche Reinigung (nach Bedarf)
Alle paar Monate oder nach einem größeren Verschütten oder wenn sich starker Schmutz angesammelt hat, ist eine Tiefenreinigung ratsam. Dieser Vorgang ist aufwändiger, bringt Ihre Tastatur aber wieder in einen neuwertigen Zustand.
1. Vorbereitung und Entfernen der Tastenkappen:
- Trennen: Ziehen Sie immer zuerst den Stecker Ihrer Tastatur.
- Foto machen: Bevor Sie Tastenkappen entfernen, machen Sie mit Ihrem Handy ein klares Foto vom Tastaturlayout. Das ist Ihre unverzichtbare Hilfe beim Zusammenbauen. Glauben Sie mir, Sie wollen nicht raten, wo die F7-Taste hingehört!
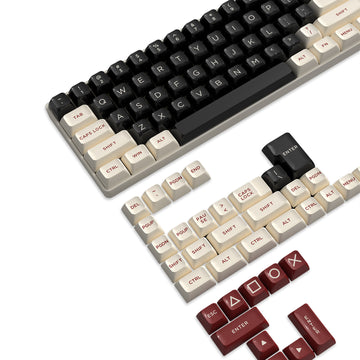
- Tastenkappen-Abzieher: Verwenden Sie einen Draht-Tastenkappen-Abzieher für die sicherste und einfachste Entfernung. Kunststoffring-Abzieher können manchmal die Seiten der Tastenkappen zerkratzen. Haken Sie den Abzieher vorsichtig unter die Tastenkappe und ziehen Sie gerade nach oben. Arbeiten Sie systematisch, vielleicht Reihe für Reihe.
2. Reinigung der Tastenkappen:
- Nachdem alle (oder einige) Tastenkappen entfernt sind, können Sie diese reinigen. Eine gängige Methode ist, sie etwa 30 Minuten bis eine Stunde in einer Schüssel mit warmem Wasser und mildem Reinigungsmittel (z. B. Spülmittel) einzuweichen.
- Nach dem Einweichen können Sie hartnäckigen Schmutz vorsichtig mit einem weichen Tuch oder einer weichen Bürste (eine alte Zahnbürste eignet sich gut) abreiben.
- Spülen Sie die Tastenkappen gründlich mit klarem Wasser ab, um alle Seifenreste zu entfernen.
- Legen Sie sie auf ein Handtuch, mit der Stiftseite nach unten, und lassen Sie sie vollständig an der Luft trocknen. Das kann mehrere Stunden oder über Nacht dauern. Stellen Sie sicher, dass sie 100 % trocken sind, bevor Sie sie wieder anbringen.
3. Reinigung des Tastaturgehäuses:
- Mit entfernten Tastenkappen haben Sie vollen Zugang zum Tastaturgehäuse. Verwenden Sie Ihre Druckluft, um Staub und Schmutz rund um die magnetischen Schaltergehäuse auszublasen.
- Wischen Sie dann mit einem leicht feuchten Mikrofasertuch (wieder nicht nass, und eventuell mit etwas Isopropylalkohol – 70 % oder weniger – zur Desinfektion, aber testen Sie zuerst an einer kleinen, unauffälligen Stelle) die Oberfläche zwischen den Schaltern ab. Wattestäbchen, die in etwas Isopropylalkohol getaucht sind, eignen sich gut für schwer zugängliche Stellen. Seien Sie vorsichtig um die Schaltmechanismen selbst.
4. Zusammenbau:
- Wenn die Tastenkappen vollständig trocken sind und das Tastaturgehäuse sauber ist, orientieren Sie sich an Ihrem Foto und beginnen Sie mit dem Wiederanbringen der Tastenkappen.
- Richten Sie jede Tastenkappe über dem jeweiligen Schalterstift aus und drücken Sie sie fest und gleichmäßig nach unten, bis sie einrastet oder sicher sitzt.
- Nehmen Sie sich Zeit und überprüfen Sie die Platzierung, um Layoutfehler zu vermeiden.

Schnelles Handeln ist entscheidend
Unfälle passieren. Wenn Sie Flüssigkeit auf Ihre magnetische Schaltertastatur verschütten, ist schnelles Handeln das Wichtigste.
Ziehen Sie sofort den Stecker der Tastatur vom Computer. Drehen Sie die Tastatur um, damit so viel Flüssigkeit wie möglich abfließen kann. War es ein klebriges oder zuckerhaltiges Getränk, ist der Reinigungsprozess aufwändiger. Bei Wasser kann eine gründliche Trocknungszeit ausreichen.
Wenn Tastenkappen betroffen sind, entfernen Sie diese und reinigen Sie sie wie im Abschnitt zur Tiefenreinigung beschrieben. Tupfen Sie sichtbare Flüssigkeit vorsichtig mit einem fusselfreien Tuch vom Tastaturgehäuse ab. Lassen Sie die Tastatur vollständig an der Luft trocknen, kopfüber oder auf der Seite liegend, mindestens 24–48 Stunden, bevor Sie sie wieder anschließen. Ein Ventilator kann den Trocknungsprozess unterstützen. Vermeiden Sie es, einen Föhn mit hoher Hitze zu verwenden, da übermäßige Hitze die Komponenten beschädigen kann. War die Verschüttung erheblich oder handelte es sich um eine zuckerhaltige/ätzende Flüssigkeit, ist bei anhaltenden Problemen nach dem Trocknen eine professionelle Begutachtung ratsam.
Was Sie NICHT tun sollten: Häufige Reinigungsfehler vermeiden
Um die Lebensdauer Ihrer magnetischen Schaltertastatur zu gewährleisten, vermeiden Sie diese häufigen Fehler:
- Tauchen Sie die gesamte Tastatur nicht in Wasser oder andere Flüssigkeiten. Nur die Tastenkappen (wenn entfernt) sind normalerweise zum Einweichen geeignet. Die interne Elektronik ist nicht wasserdicht.
- Verwenden Sie keine aggressiven chemischen Reiniger, Lösungsmittel oder Scheuermittel. Diese können das Plastik der Tastenkappen, den Tastaturrahmen oder spezielle Beschichtungen beschädigen. Verwenden Sie milde Reinigungsmittel oder elektronikverträgliche Tücher.
- Üben Sie beim Entfernen der Tastenkappen oder Reinigen keinen übermäßigen Druck aus. Magnetische Schalter sind robust, aber die umliegenden Komponenten oder Tastenkappenstifte können beschädigt werden.
- Schließen Sie niemals eine Tastatur an, von der Sie vermuten, dass sie innen noch feucht ist. Das führt sicher zu einem Kurzschluss und dauerhaften Schäden. Geduld beim Trocknen ist nach einem Verschütten entscheidend.