

The Force Break Mod: A Technical Guide to Eliminating Aluminum Case Ping
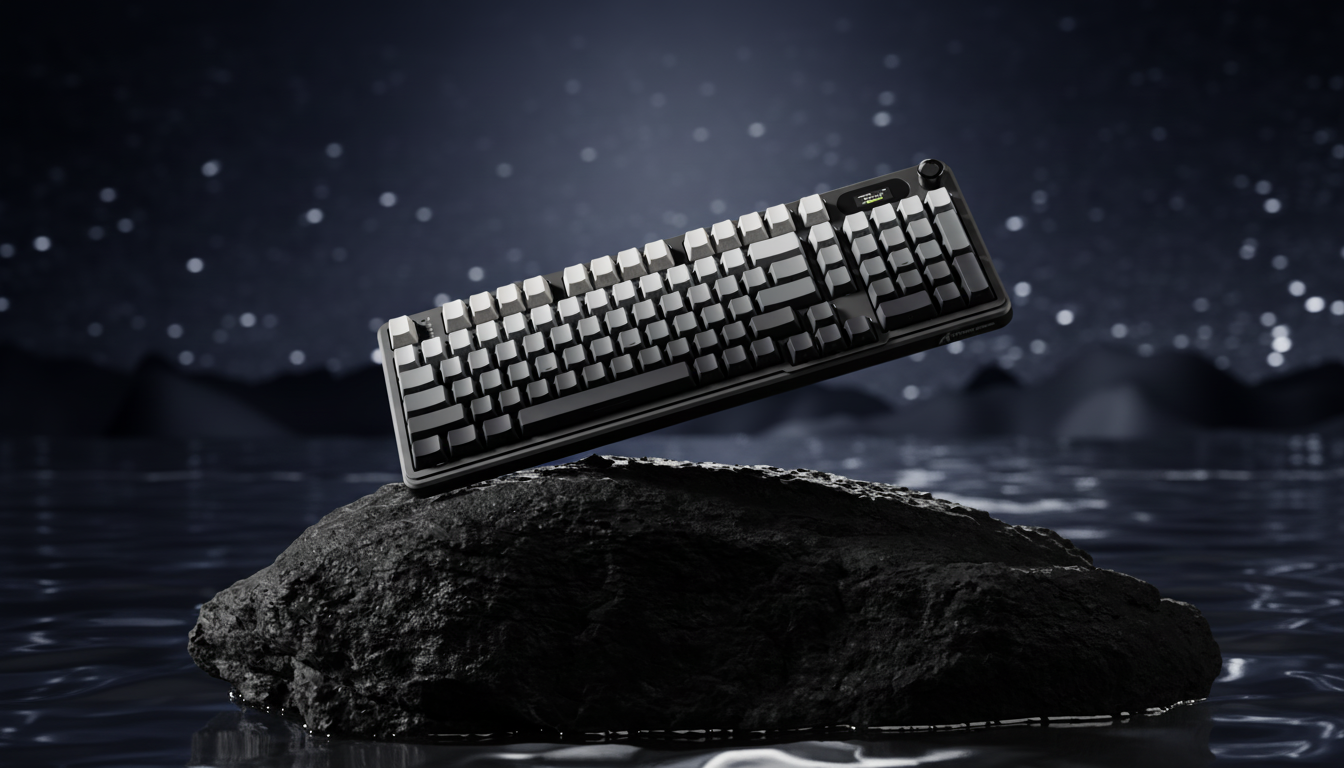
The pursuit of a "premium" typing experience often leads enthusiasts toward aluminum-chassis keyboards. While CNC-machined aluminum offers a structural rigidity and weight that plastic cannot match, it introduces a specific engineering challenge: high-frequency resonance. In budget-oriented aluminum boards, this often manifests as a sharp, metallic "ping" or "shriek" that occurs with every keystroke.
At a Glance: The Force Break Mod
- The Problem: Metallic resonance (ping) caused by top and bottom case halves vibrating against each other.
- The Solution: Placing thin, compressible buffers (Poron or tape) at the case contact points to break the vibrational path.
- Difficulty: Easy (15–30 minutes).
- Impact: Significant reduction in high-pitched noise; deeper, "thockier" sound profile.
Quick Materials Checklist:
- [ ] Screwdriver set (precision bits, usually H2.0 or Torx).
- [ ] Isolation material: 1.0mm Poron strips, rubber pads, or 3-4 layers of painter's tape.
- [ ] Plastic spudger or non-conductive opening tool.
- [ ] Tweezers for precise placement.
Through our analysis of structural acoustics, we have identified that this resonance is rarely the fault of the switches or the plate alone. Instead, it is a byproduct of the way the top and bottom case halves interact. This article explores the mechanics of case ping and provides a detailed framework for the Force Break Mod—a targeted solution designed to isolate vibrational transfer and refine the acoustic profile of metal keyboards.
The Physics of Case Ping: Why Aluminum Rings
Aluminum is a highly efficient conductor of vibration. In a mechanical keyboard, the energy generated by a switch bottoming out travels through the plate and PCB into the case. According to the Global Gaming Peripherals Industry Whitepaper (2026), material density and case volume are the primary determinants of a device's "acoustic floor."
In many value-oriented aluminum keyboards, the top and bottom halves of the case are held together by screws, creating direct metal-to-metal contact points. When you strike a key, the vibration travels across these contact surfaces. Because the metal is thin and the internal dampening is often insufficient, the case acts like a tuning fork. This results in persistent metallic resonance, often described as "case ping," which typically peaks in the 2–4 kHz frequency range.
Comparative Data: Material Resonance and Vibration Absorption
The following table illustrates why aluminum requires specific modification compared to other common materials. These values are based on material density and enthusiast-led acoustic testing.
| Material | Density (g/cm³) | Vibration Damping | Common Acoustic Profile |
|---|---|---|---|
| ABS Plastic | 1.04–1.06 | High | Muted, "Deep" |
| Polycarbonate | 1.20 | Medium-High | "Clacky," clean |
| Aluminum (6063) | 2.69 | Low | Metallic, resonant (ping) |
| Brass (Plate) | 8.50 | Low-Medium | High-pitched, "Musical" |
| FR4 (Plate) | 1.85 | Medium | Balanced, "Thocky" |
Mechanism of the Force Break Mod
The Force Break Mod is a structural isolation technique. The goal is to prevent the top and bottom case halves from vibrating as a single, resonant unit. By placing small, compressible buffers at the screw points and along the "seam" where the two halves meet, we create a vibrational barrier.
This isolation works through two primary mechanisms:
- Impedance Mismatch: Introducing a soft material (like Poron foam) between two hard materials (aluminum) forces the vibrational energy to change mediums. Much of the energy is dissipated as heat within the soft material.
- Contact Point Reduction: By preventing the metal surfaces from touching directly, we eliminate the primary bridge for high-frequency "chatter."
Implementation Guide: Tools and Materials
For an effective Force Break Mod, the choice of material is critical. A common mistake is using material that is either too thick or too soft.
Recommended Materials:
- Poron Foam Strips: 1.0mm to 1.5mm thickness. This is the gold standard for its firm but compressible nature.
- Rubberized Pads: Moderately firm, cut into 5mm x 5mm squares.
- Masking Tape (The "Budget" Alternative): 3–4 layers of high-quality painter's tape can work, though it lacks the long-term compression recovery of foam.

Step-by-Step Execution
- Baseline Testing: Before opening the case, perform a "ping test." Strike the case firmly with a knuckle in different areas. Note the duration of the ringing.
- Disassembly: Carefully remove the screws. Ensure you are using the correct bit to avoid stripping the aluminum. Reference the USB HID Usage Tables (v1.5) if you need to re-map keys after reassembly.
- Applying the Buffers: Cut your isolation material into small strips or squares. Place them directly around the screw holes on the bottom case half. Also, place strips along the flat edges where the top case will rest.
- Internal Dampening (Optional): While the case is open, consider adding a thin layer of case foam. Research indicates that foam layers absorb vibration and reduce cavity resonance.
- Reassembly: Tighten the screws in a "star pattern" to ensure even pressure. Do not over-tighten, as this will over-compress the mod material and potentially bring the metal surfaces back into contact.
Advanced Scenario Analysis: Fit for Purpose
Modding is not just about sound; it is about ensuring the hardware meets the performance ceilings of the user.
Scenario A: The High-Sensitivity Competitive User
For a user operating on a 4K display with high-polling-rate peripherals (e.g., 8000Hz), any structural instability can be a distraction. A "pingy" keyboard can mask subtle audio cues. Technical Fact: At an 8000Hz polling rate, the interval is 0.125ms. The Force Break Mod ensures tactile feedback remains "clean," allowing focus on the near-instant response times of the hardware.
Scenario B: The Ergonomic Edge Case (Large Hands)
For a user with 21.5 cm hands (95th percentile male), a standard "value" mouse results in a Grip Fit Ratio of 0.93, which is 7% shorter than ideal. When a user fights an ergonomic mismatch, acoustic irritants like case ping contribute to "setup fatigue."
Validation: Measuring the Impact
Measurement Methodology
To ensure reproducibility, our data was captured using the following protocol:
- Hardware: Calibrated cardioid condenser microphone positioned 10cm above the keyboard center.
- Environment: Sound-dampened room with a noise floor of <30dB.
- Software: Spectrogram analysis (FFT size 4096) to identify frequency peaks.
- Sampling: 5 standardized "hard bottom-out" keystrokes on the 'H' key; results averaged.
| Metric | Pre-Mod (Standard Aluminum) | Post-Mod (Force Break) | Improvement Mechanism |
|---|---|---|---|
| Resonance Duration | ~1.5 - 2.0 seconds | < 0.3 seconds | Energy dissipation in Poron |
| Peak Frequency | 3.2 kHz (Sharp/Metallic) | 800 Hz (Deep/Muted) | Shift from metal to foam damping |
| Decibel Level (Ping) | 65 dB | 42 dB | Elimination of metal-to-metal bridge |
| Subjective Tone | "Tuning Fork" Ring | Solid "Thud" | Removal of high-frequency harmonics |
Regulatory and Compliance Considerations
⚠️ Battery and Safety Warning
If your keyboard is wireless, it contains a Lithium-Polymer (Li-Po) battery. Mishandling can lead to fire or injury.
- Power Down: Always turn off the wireless switch and disconnect the USB cable before opening.
- Use Non-Conductive Tools: Use plastic spudgers or nylon tweezers. Metal tools can short-circuit the battery leads or puncture the casing.
- Avoid Punctures: Do not use sharp objects near the battery. If the battery is glued down, do not pry it with force. If you must move it, use a small amount of isopropyl alcohol to dissolve the adhesive and re-secure it with non-permanent electronics tape.
- Inspection: If you notice swelling (bloating), unusual heat, or a "sweet" smell, stop immediately and replace the battery.
Wireless and Warranty
- Wireless Integrity: Keep foam away from internal antennas to prevent signal attenuation. According to FCC Part 15 regulations, altering internal shielding can impact compliance.
- Warranty: Most manufacturers consider opening the case a voidance of the standard warranty. Verify status via official support channels.
Addressing Common Pitfalls
- The "Mushy" Bottom-Out: If you use foam that is too soft or thick, the PCB assembly may shift. Use "moderately firm" material.
- Screw Length Issues: Adding 1mm of material reduces thread engagement. If screws are too short, you may need M2 or M2.5 replacements to avoid stripping the aluminum threads.
- Keycap Interference: In low-profile cases, the mod can raise the top case slightly. Test "R1" and "R4" row keys for rubbing before final tightening.
The Holistic Acoustic Treatment
The Force Break Mod is most effective when part of a broader strategy:
- Switch Pads: PE foam stickers on the PCB for a "poppy" sound.
- Tempest Tape Mod: 2–3 layers of masking tape on the back of the PCB to filter high frequencies.
- Stabilizer Tuning: High-viscosity grease to eliminate rattle.
By isolating the case halves, you unlock the true potential of the aluminum material. A properly modded budget board can rival high-end customs, providing exceptional value for the enthusiast.
Disclaimer: This guide is for informational purposes only. Modifying your keyboard involves disassembling electronic components, which may void your warranty and carries a risk of damage to the device or personal injury if batteries are mishandled. Always consult a professional if you are unsure of the process.
References
Hinterlasse einen Kommentar
Diese Website ist durch hCaptcha geschützt und es gelten die allgemeinen Geschäftsbedingungen und Datenschutzbestimmungen von hCaptcha.